
The midlife crisis.
Hello Rustlovers!
In today’s edition of “The Free Model T” we break the seal on old engine that’s never been cracked open before AND it’s powering a new project! The perfect car to feel the wind blow through my waning auburn locks as they fly away one by one: The Midlife Crisis!

This 65 Ford Mustang has spent the last 30+ years of its life in the basement of a hardware store in Ohio being driven only on the odd Sunday. Perhaps in some parades? I like to imagine so. She is powered by a bone stock 289 2 BBL backed up by a Cruise-O-Matic C4 transmission. When I say bone stock I mean the plug wires say “Ford” on them.
When my dad and I were originally shopping for my first project when I was 14 years old all I wanted was a Mustang. What I ended up with was a 65 Ford Ranchero which essentially shares the same underpinnings as this mustang so I am definitely operating in my wheelhouse right now. I know my 60’s Fords.
The old dream of finding a low mileage antique car that grandma only drove to church on Sundays is alive and well to this day but those cars have serious disadvantages that we are about to explore together. Namely: sludge.

As a car sits and as the engine cools down moisture accumulates in the crankcase. If a car isn’t driven for a few minutes at full operating temperature at least every few trips, this moisture doesn’t have a chance to burn off and will mix with the oil turning it into a nasty sludge. This sludge clogs vital oil passages and causes excessive wear on moving parts within an engine. Let me take a step back and explain how I found this sludge.
Last month a coworker let me know that he was having the Mustang shipped from his uncle in Ohio. Once he had it he decided it deserved more care than he was able to put into it right now. He told me he was thinking about selling it so I drove up to his house to take a look at it for him… With cash. I drove it home that day.
The engine ran pretty well on the freeway but didn’t have the power it should have and idled pretty rough. I assumed it was running on 7 cylinders. As it turned out, it was running on 6.

My plan had been to drive the car as-is, so how did I even get to the point where I pulled the head off? Well, a small job kind of spiraled out of control. After driving it 3 or 4 times it suddenly refused to start. Much cranking and starter fluid-ing later I got it to run but it was only firing on every other cylinder. As I pulled the plug wires off of the distributor one at a time, one would cause the motor to bog almost to death and the next would make no difference indicating that the associated cylinder was not firing. Back and fourth through the firing order; good, dead, good, dead, good, dead, good dead.
It was such a weird problem that I probably would’ve been baffled if the SAME EXACT thing hadn’t happened on my ’67 Camaro 13 years ago. Yep, I knew what it was immediately. One bank of the carburetor was not fueling correctly. Weird, right? See, when the marvelous engineers in Detroit designed this and other motors, they chose to supply air/ fuel mixture from each side of the carburetor to alternating cylinders in the firing order. Set up as such the engines not only run smoother and breathe easier but also if one side of the carburetor develops a fault, the engine can still run somewhat.
The carburetor had recently been rebuilt but the driver’s side was pouring fuel down cylinders 2, 4, 6, and 7. I decided the best course of action was to install an Edelbrock intake manifold and 500 CFM carburetor for ease of repairs and reliability. Don’t worry, I kept and catalogued all the original parts.
The first thing I did was drain the coolant and pull the upper hose.
 Pulled the carburetor.

Pulled the thermostat housing and- oh no!

The coolant in the intake was all milky. Oil in the coolant!

Nasty.

Looks like this carb spacer had never been removed. The gasket was nothing but one big crusty vacuum leak.

Then the intake manifold came off.

Nasty.

Nasty.

At this point I knew the heads would have to come off. That’s ok, I decided to have Action Cylinder Heads install hardened valve seats so I wouldn’t need lead substitute in the fuel.

Why didn’t I pull that distributor? Well it was stuck. Like, seized. Like,it took a 25 lb. Morgan knocker to get it out, also it broke in two during extraction. Also upon pulling the heads, I discovered that the right exhaust manifold was cracked.

After using my shop-vac to suck most of the sludge out of the valley I scrubbed it with degreaser and a rag. Not bad.

I attempted to refurbish the old lifters but when I got to the third one I discovered that the little piston inside was hopelessly seized. After trying in vain for some time to remove it I gave up and bought new lifters. Remember that you can change lifters without changing the cam but you can never use old lifters on a new cam.
Pictured below are the lifters with a high pressure zinc/moly assembly lube on the cam following surface only; during break-in it is vital for lifters to spin so only use motor oil on the sides and be sure to check that they travel and spin freely in the bore.

Shiny reman heads installed.

Gaskets set in place (I didn’t actually use the cork bits in the front and back but used a bead of gasket sealer as per Edelbrock’s instructions.)

Intake on. Thanks for your help Dr. K.

Aaaaaaaand intake off. Whilst torquing the bolts to 18 ft.lbs. one suddenly spun with a loud *click*. I thought the bolt had snapped of but much to my horror it came out intact. I removed the intake (ruining my shiny new gaskets) and found this dismal sight.

My freshly machined head was broken. You can see the copper colored antiseize and the beautifully tapped theads. I had done everything right.

Luckily the boss that had snapped off had another 1/2″ of surviving meat that was tapped almost all of the way through. I went ahead and retapped all 10 bolt holes all the way out the bottom and bought 10 more new bolts all 1/2″ longer than the originals. Honestly the bolts were only 1/4″ short of a length that I would consider proper but I didn’t want the one bolt in the broken boss to be longer than the rest. Yes, I’m crazy.

I stole a passenger side exhaust manifold off of my Fairlane but the studs were mismatched in length and thread pitch so after soaking them with penetrating oil for a week I extracted them. It took me SIX HOURS on a 103 degree day to successfully extract the four studs without damaging the threads in the manifolds. Here is a picture of a still-glowing nut that I welded to one of the studs to have something to grab onto. Also I’m showing you how not to wear protective footwear and yes, I did step on a piece of hot welding slag and yes, I did have to dig it out of my heel. Don’t be stupid like me.

Intake and carburetor on.

Temp sender and heater elbow on.

New distributor installed.

Stopped over at Mr. boss man’s house to cut me a spacer for the alternator.

If you look closely at the “before” pictures of the motor you can see that the alternator is loose on its bolt with the spacer missing and several lock washers stacked up in front of the ever bending bracket. Needless to say the alternator was very crooked and the belt was slinging rubber shavings all over the engine compartment.

After my friend Mr. Pipe spent a good deal of time scraping gaskets and degreasing the valve covers I sanded them, primed them, and painted them.

And it’s Miller time! (Really, I just liked the way the colors went together.)

My ziptie game was strong on these wires. As per my usual method they do not touch each other or ground or any other wiring. What was unusual was my extra effort this time to make them pretty as well.

Vacuum lines, throttle linkage and fuel lines in. (Not pictured but I did run the PCV valve to the front port on the carburetor as required.)

Air cleaner on and after seting the timing and adjusting the carburetor it’s ready to take Patient Wife out to dinner and a movie!

Noooooooooooooo!!!!!!!!
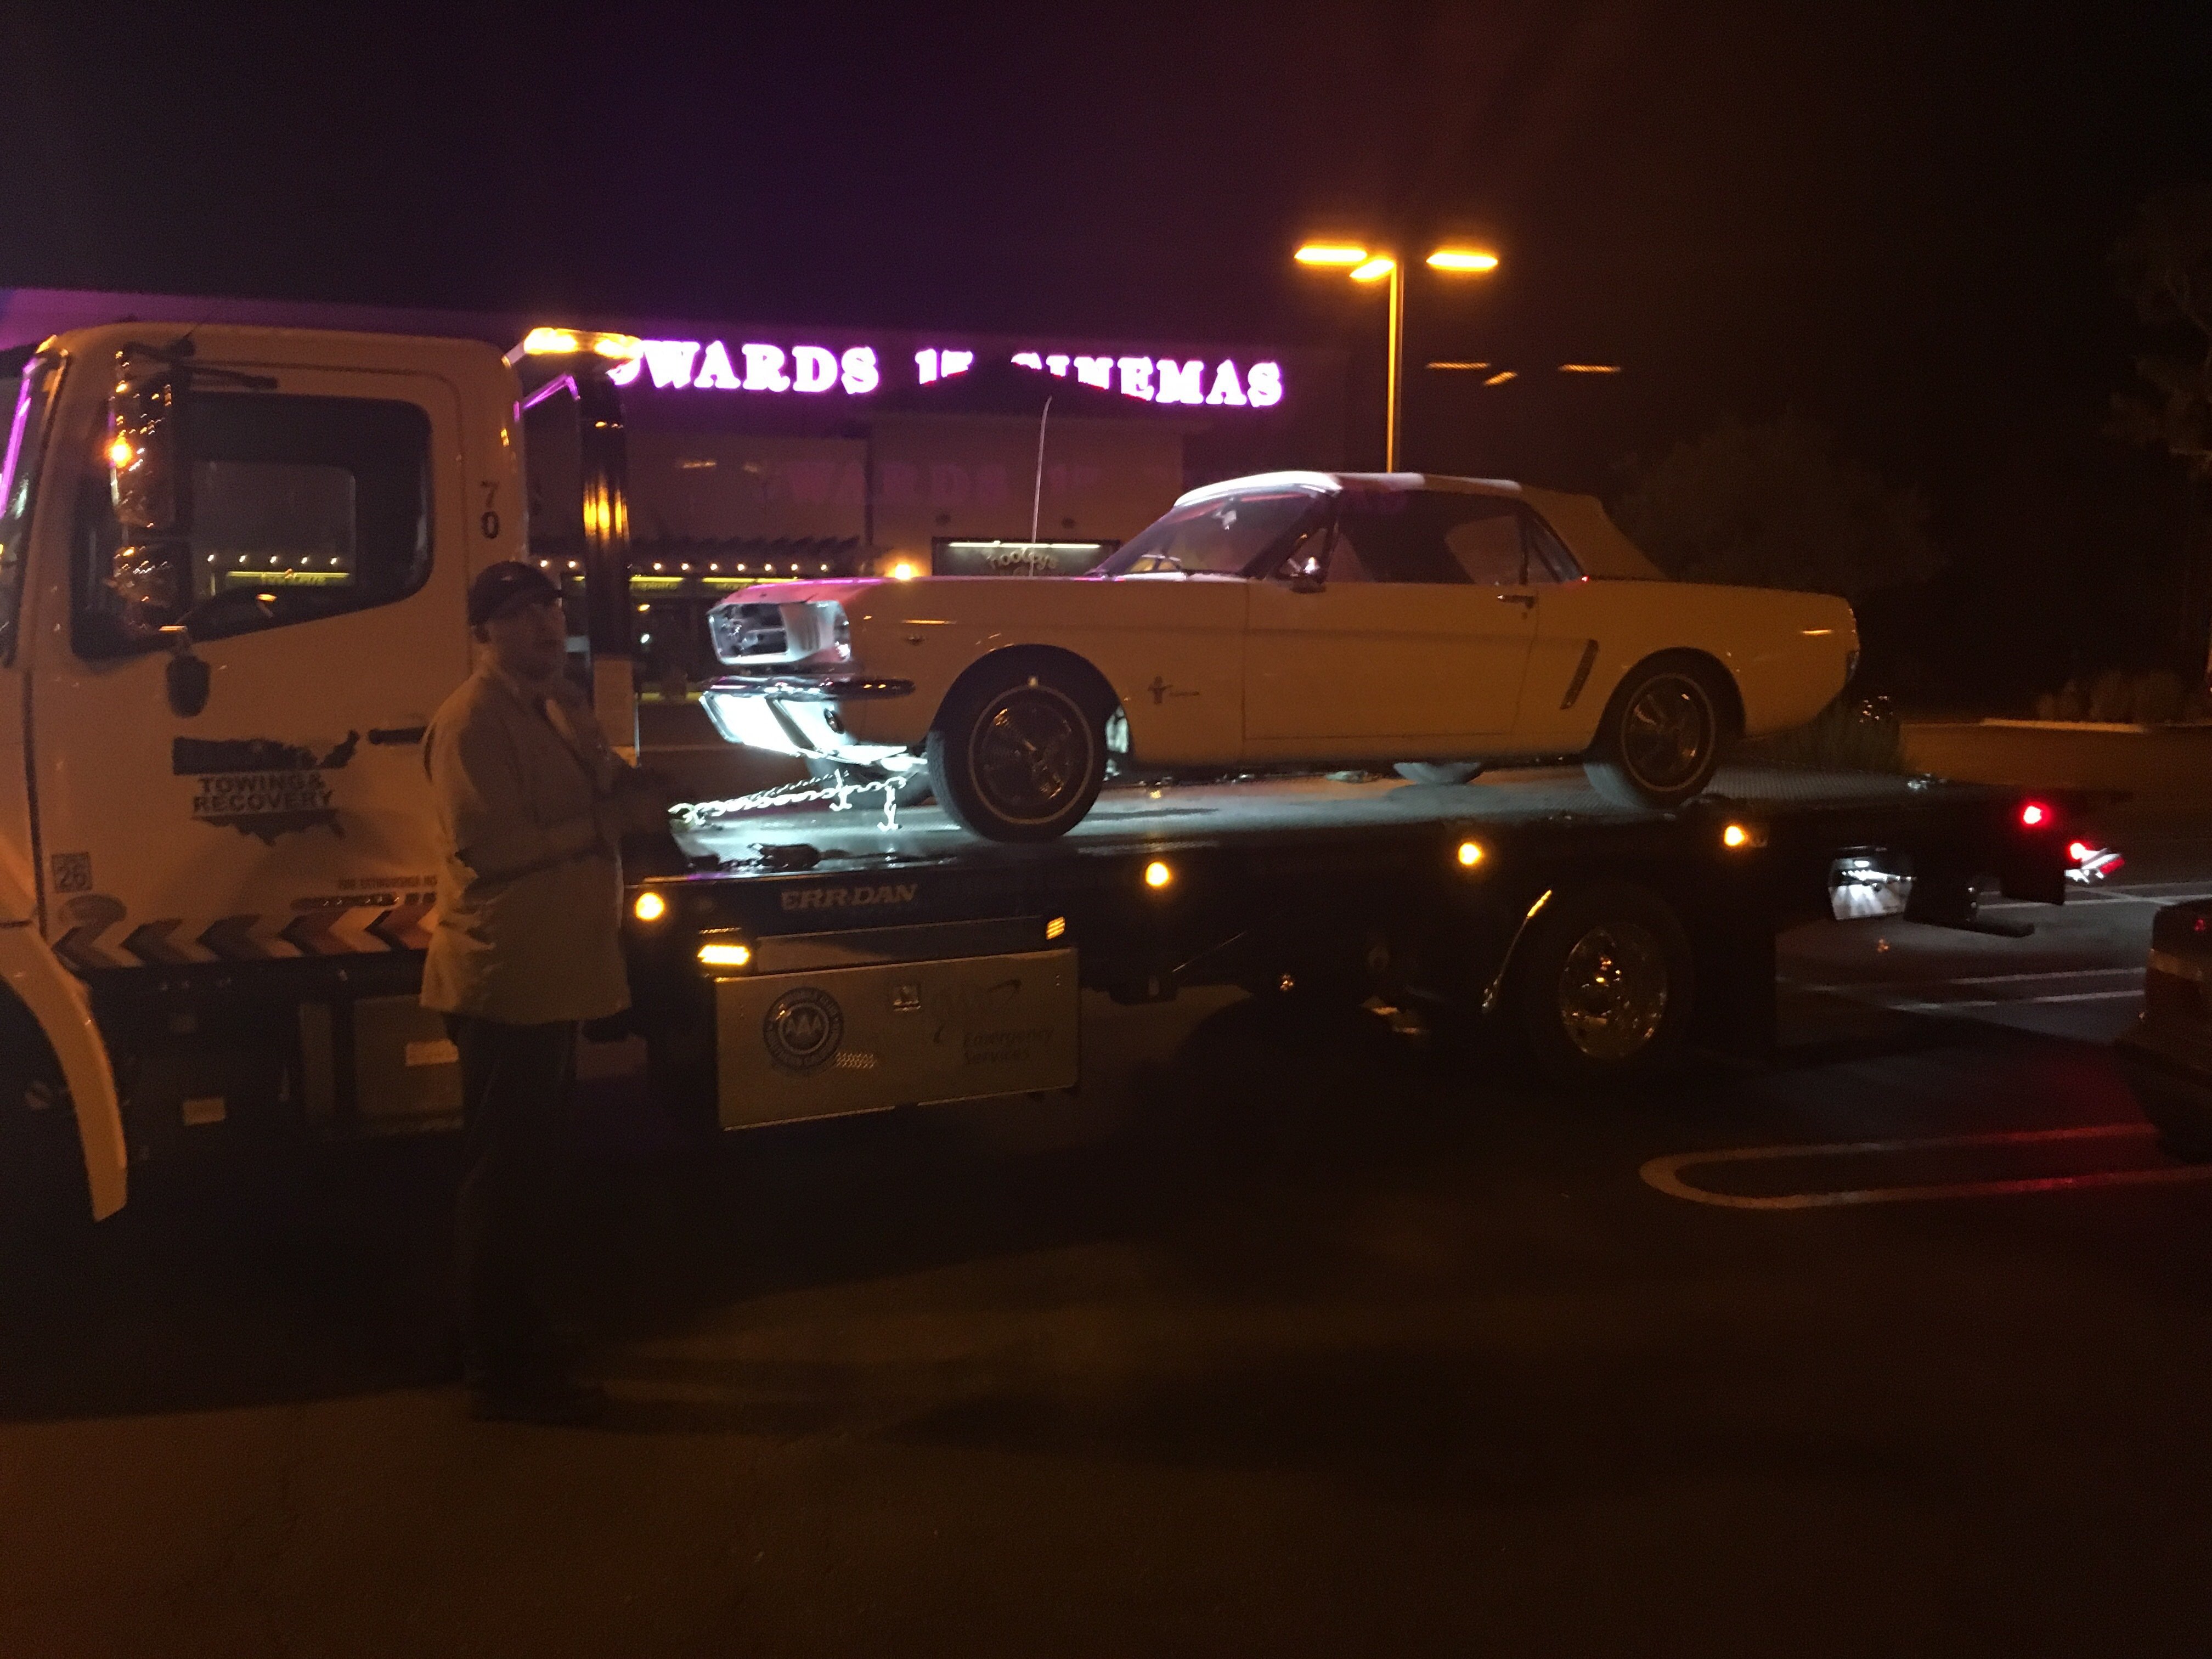
Not again!
Until next time Rustlovers, get a AAA membership. Seriously.